The B-stance Romanian deadlift is a way to make both the Romanian deadlift (RDL) and the single-leg deadlift a little easier to manage, while still giving you a great workout for the glutes and hamstrings.
What Are B-Stance RDLs and What Are Their Benefits?
(See 00:22 in the video above)
First, let’s make sure we’re on the same page about what regular old Romanian deadlifts are. The RDL is very similar to a conventional deadlift, but rather than picking the bar up off the floor, you start from a standing position with your hips locked out, and then bend your hips back as far as you can while keeping a little bend in your knees.
The RDL trains the glutes, hamstrings, and lower back, making it a great exercise for building muscle in those areas, as well as a good supplemental lift for the deadlift itself. Many lifters like to progress from the RDL to a single-leg RDL, where you perform the same basic movement but on one leg. Being able to do a single-leg RDL, or single-leg deadlift, demonstrates great balance and stability, so it’s arguably a good exercise for athletes to work on, but it takes a lot of practice for most people to achieve. It’s also not really a great choice for building muscle in your glutes and hamstrings, because you expend most of your energy trying to stabilize the movement—that is, keep from losing your balance and falling over. Single-leg deadlifts can’t really be loaded heavy, so there’s a diminishing return as far as gaining muscle and strength from them.
Now here’s where the B-stance RDL comes in. By taking your normal RDL stance and sliding one foot back and using it as a sort of kickstand, you can shift the load to your front leg, making the RDL more of a unilateral movement like the single-leg deadlift, but keeping most of the stability that makes the RDL such an effective muscle and strength exercise.
Therefore the B-stance RDL is a good progression from the bilateral RDL as well as a prerequisite or alternate for single-leg deadlifts.
Also, if you suffer from lower-back pain and find that regular two-legged RDLs are uncomfortable, the B-stance RDL may be a good alternative. You can’t lift as heavy with a B-stance as you can using a normal, two-legged stance, but in this case, that can be a good thing. Using lighter weight will place less strain on your lower back, but it will still be heavy enough to train one leg at a time effectively. The B-stance will also allow you to improve the mobility in your hips, one side at a time, so it may help to relieve the source of your back pain in the first place.
How To Do B-Stance RDLs
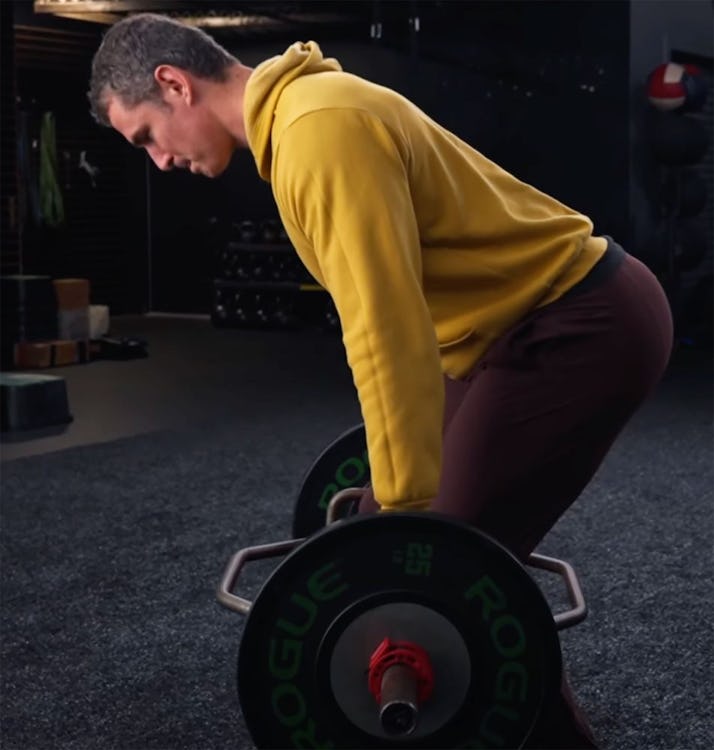
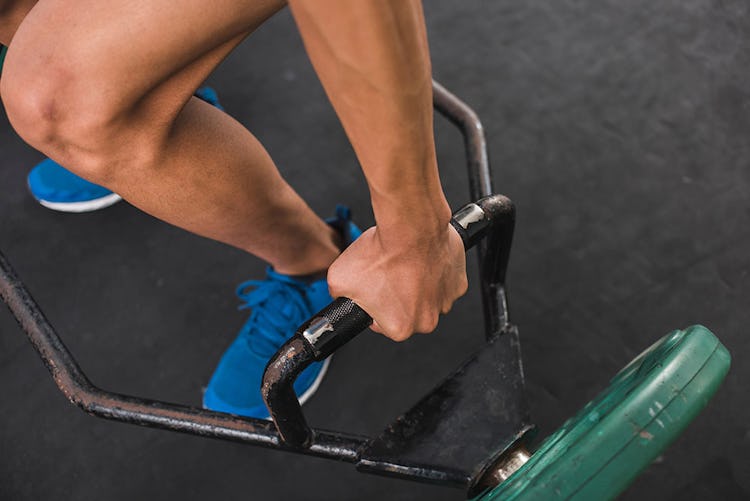
You can perform B-stance RDLs with a barbell, dumbbells, kettlebells, or a trap bar. We like the trap bar because it allows you to keep the weight very close to your center of gravity, which is easier on the lower back, so that’s the version that is depicted here. But the same mechanics apply to a B-stance RDL with any implement.
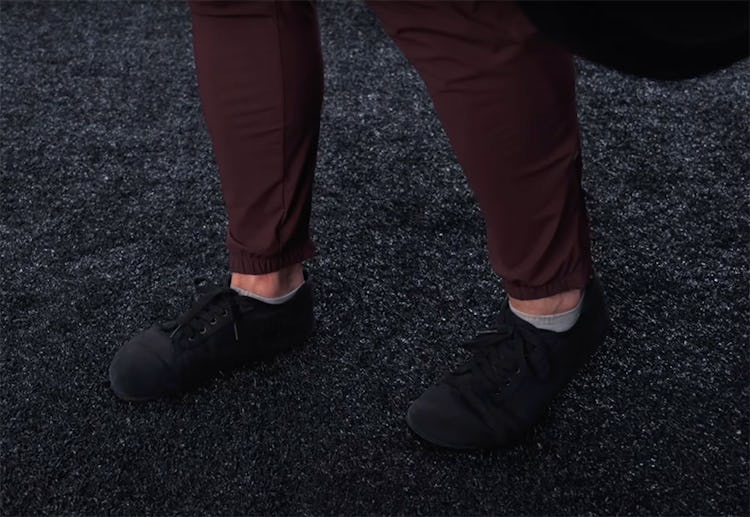
Step 1. Take the bar off the floor or a rack—if you’re going off the floor, you have to deadlift the bar up and into position, so be sure to do it with a flat back and lift with your legs. Now stand with your feet hip-width apart and soften your knees. From here, slide one foot back so that your toes are even with the heel of the other foot. Some people like to move the foot a little further backward or keep it more forward, but the toe-to-heel alignment seems to work best for most. Experiment and see what feels right to you.
Step 2. Brace your core, and bend your hips back as far as you can while keeping a little bend in your knees. You want your front knee to stay soft and just bend as needed to give your hips the greatest range of motion. The knee on your kickstand leg will bend a little more, but don’t try to bend either leg like you would in a squat.
Keep a long spine from your head to your tailbone as you push your hips back. You’ll feel a strong stretch in your glutes and hamstrings on the front leg. You want that stretch, because that means you’re working the muscles, but it shouldn’t be really uncomfortable. You also shouldn’t go to where you feel your lower back is beginning to round forward.
Step 3. As soon as you feel a strong stretch, and you know your hips are as far back as they can go with that stance, extend your hips to stand back up tall. Watch that you don’t hyperextend your back at the top. You want to be standing tall, not leaning back in an effort to push your hips forward even more.
Complete your reps (sets of anywhere from 5–10 reps are generally fine), rest, and repeat on the other leg.
What Muscles Do B-Stance Deadlifts Work?
B-stance RDLs will primarily target the gluteus maximus, your main butt muscle. But they will also hit your hamstrings and spinal erectors (the muscles in your lower back). Your core, of course, has to brace your spine throughout the whole movement, so you could argue that any RDL is an ab workout too.
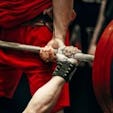
Finally, if you go heavy on B-stance RDLs, they will demand a lot of work from your upper back and grip as well, just in supporting the load.
How Do B-Stance RDLs Compare To Other Romanian Deadlifts?
We already said that B-stance RDLs are easier on the low back than conventional RDLs. They also offer more range of motion than a bilateral RDL, so you can bend your hips back a little further and put a little bit more stretch on your glutes and hamstrings. Of course, the B-stance RDL is also more stable than a true single-leg deadlift, so you can lift more weight and provide a better stimulus for size and strength gains.
With all that said, the B-stance won’t allow you to go as heavy as conventional RDLs, so they’re not an ideal choice for building up your deadlift like regular RDLs are when done as an assistance lift. It’s good to use B-stance RDLs as an alternate exercise for the sake of variety, or if you’ve been experience low-back problems and want to train around them.
How To Stretch Before Doing B-Stance Romanian Deadlifts
The B-stance RDL is really just a hip hinge—you bend your hips back as far as you can while keeping a straight, flat back. For that reason, any hip hinge motion can serve as a warmup for it. A basic bodyweight hip hinge can do the trick.
Bodyweight Hip Hinge
Step 1. Stand with feet parallel and bend your knees slightly.
Step 2. Now drive your hips back as far as you can while keeping a long spine from your head to your tailbone. When you feel a stretch in your hamstrings, or you can’t push your hips back any further without losing your spine position, come back up to standing. Do 3 sets of 10 reps.
Another warmup move that will stretch out the muscles you’ll use on the B-stance RDL is the reverse lunge.
Reverse Lunge
Step 1. Stand with your feet parallel.
Step 2. Now step back and lower your body toward the floor until your front knee is bent 90 degrees.
Keep your torso upright and avoid twisting to either side. Perform 2 sets of 6 reps on each leg.
B-Stance RDL Exercise Alternatives
The B-stance RDL emphasizes the glutes when they’re at their most lengthened position—a deep hip hinge with your butt pushed all the way back. A nice complement to this kind of exercise is the B-stance hip thrust, another unilateral glute exercise that emphasizes the muscles when they’re in a shortened position—that is, they contract hardest when you’re near the end of the hip hinge and about to lock your hips out. Click HERE for a full tutorial on the B-stance hip thrust.
Another alternative exercise is the braced single-leg deadlift, as recommended by Bret Contreras, PhD, a glute-training expert and author of the book Glute Lab. Here, you hold onto something sturdy for support and perform a single-leg deadlift motion. The braced single-leg deadlift is a little more challenging than using the B-stance, and a little closer to doing a real, unassisted single-leg deadlift, so consider it a progression from the B-stance once you’ve got that down.
Braced Single-Leg Deadlift
Step 1. Set up a bench or other sturdy object so it’s at about arm’s length in front of you when your arm is at your side. You will hold onto it for stability. Now stand with your feet close and a light dumbbell in the opposite hand.
Step 2. You’ll start by working the leg that’s closest to the bench. Keeping a slight bend in that knee, push your hips back and extend your other leg behind you as you bend your torso toward the floor. Try to keep your hips square to the floor and maintain a long spine.
Step 3. Extend your hips to stand up tall again.
As you get more comfortable with the movement, you can reduce the support you get from the bench.
For example, start the single-leg deadlift unassisted and then reach out and touch the bench only if you begin to wobble.
)