
If you’re home-bound due to quarantine, a closed gym, or house arrest (hey, we won’t judge), your main option for chest training lies with the pushup.
Don’t roll your eyes. Pushups may not be as sexy as dumbbell and barbell bench-pressing for building up your pecs, but they work even more muscle throughout your body, and they’re a lot less risky for your long-term shoulder and elbow health.
It’s easy to wave off the pushup if you only know one way to do it—i.e., the way you learned in gym class (hands shoulder-width apart, down and up). If that’s the only kind of pushup you’ve done for decades, of course you’re bored. But we can show you several much harder and more fun pushup variations that will give you a newfound respect for the world’s oldest chest exercise. They’re in the first at-home chest workout we’ll offer you below.
For those who have weights, even if it’s a single pair of rusty dumbbells you recently discovered by tripping over them in the attic, we’ll provide another chest routine, so you can keep up your presses and flys for a more isolated chest blast.
Benefits of Working Out Your Chest
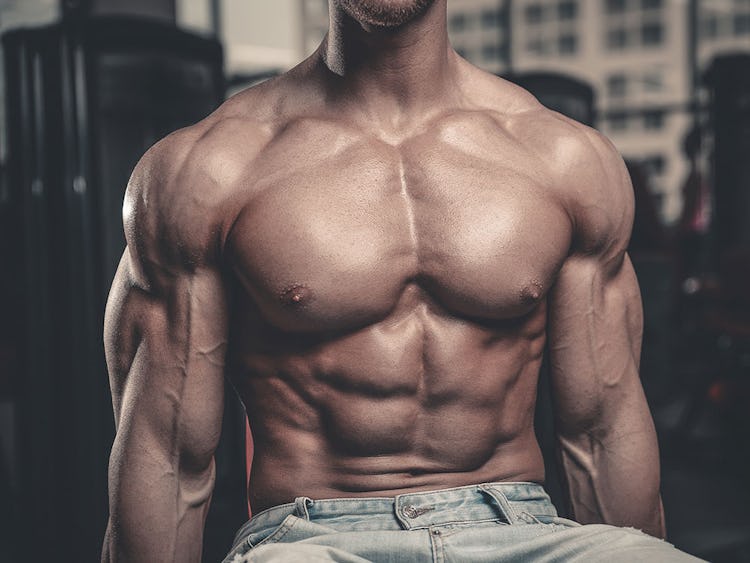
Let’s start with the obvious: big pecs are cool. If you’re a guy, they make you look like you can handle business, and that’s not bro science talking. A 2017 study had 160 women look at pictures of men’s bodies, and all of them rated the ones with bigger pecs and arms to be the most physically attractive. While other research has indicated that there’s a middle ground of muscularity that makes a man sexy—not scrawny, and not bodybuilder-jacked either—this trial found that the bigger the guy was, the better he did with the ladies. Scientists theorize that the reason why lies in evolution: stronger, more capable-looking men had a better chance of protecting and providing for women in pre-civilized, primal times, and women are still hard-wired to appreciate that aesthetic today.
The main chest muscle is the pectoralis major, and it serves four functions. The pec helps raise your arm in front of your body, lower it back down to your side, move the arm across the front of your body, and rotate the arm in toward the midline of your body. Strengthening the pecs, therefore, helps you perform numerous athletic functions, from pushing and throwing to climbing and punching. Bench press variations, as well as pushups, are used in virtually all football strength and conditioning programs, as they can help a lineman shove an opposing player back down the field. In baseball, the pecs help players both throw and hit the ball far and accurately. For swimmers, the chest muscles are used constantly with movements like the breaststroke and backstroke.
How Can I Build My Chest Muscles Without Weights?
If you don’t have workout equipment, but you want to build up your chest, you’re going to have to get friendly with the pushup (and its many variants). Look at how it’s performed and you can see that it’s essentially the same movement as a bench press, only you’re not supported by a bench.
A bench press allows you to work your pec muscles with greater isolation, and with heavier loads. This is helpful for building muscle, but it has its drawbacks too. For one thing, the stronger you get on presses, the more weight you have to use, and the more strain you’ll place on your shoulder joints. Pushups can’t be loaded as easily as presses, but you can add weight via weight vests, or simply performing the movement in more challenging or unstable positions. Pushups allow your shoulder blades to move naturally—which they can’t do pinned against the bench on a bench press—and that provides extra stability, so even when you’re training pushups heavy, they’re not as risky as pressing. Most heavy bench pressers complain of shoulder pain at one time or another, but when have you ever heard of someone hurting him/herself doing a pushup?
The pushup is what’s known as a closed-chain exercise. Your hands are rooted into the floor, not pressing up into the air. That requires more overall muscle throughout your body to engage to provide stability during the movement. A bench press mainly targets your pecs, delts, and triceps, but a pushup will work all that and your core, upper back, and legs to boot. It will also work them in a way that’s more akin to how you move in daily life and in sports. You rarely, if ever, have to push something heavy off your chest from a supine position on the ground (but if you anticipate getting trapped under a log one day, bench pressing is sure to prepare you for it).
Ultimately, the research shows that the muscle-building potential of an exercise comes down more to effort than it does load. Doing pushups can be as effective for growing the chest as benching heavy, provided you take your sets to failure (or near it). A 2016 study from McMaster University in Ontario had subjects either train with light weights or heavy weights, and both groups made equal muscle gains after 12 weeks. The light-weight group used as little as 30% of their max weight—which may be analogous to the effect of doing pushups with your bodyweight vs. a heavy bench press—and still made progress. Meanwhile, a 2018 study found that subjects doing bodyweight exercises had comparable improvements in body composition to those who did resistance-training exercises with weights.
The bottom line is that your muscles don’t know whether you’re lifting a barbell, dumbbell, or your own body. Observe all the muscle-building rules by training them hard, frequently, progressively, from a variety of angles, and with different training methods, and they’ll respond.
Chest Exercise Alternatives If You’re Injured
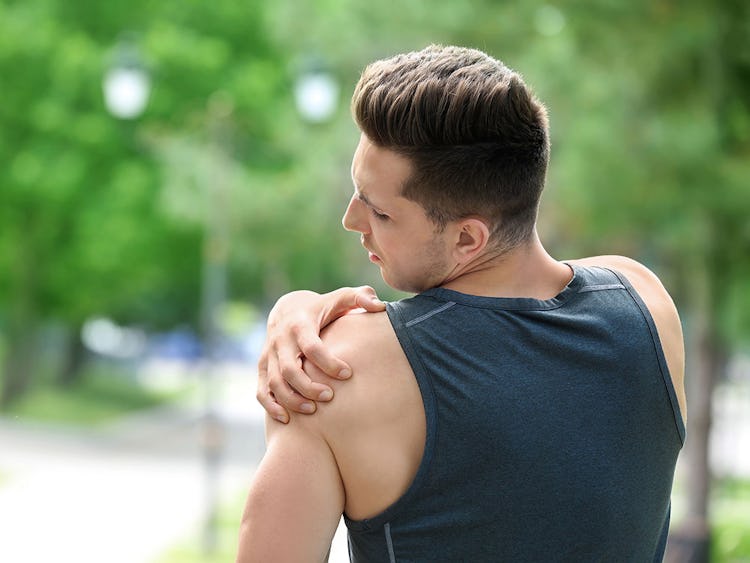
Chest training is often hampered by shoulder pain. The simplest way to get around it and continue working your pecs is to reduce the range of motion on your exercises by a few degrees.
Whether you’re lifting weights or doing pushup variations, the shoulder receives a greater stretch the further you bring your arm away from or behind your body. It’s also least stable when your arm is out 90 degrees from your side. So lowering all the way on presses, flys, or pushups is likely to aggravate any shoulder injuries you have. By stopping the range of motion an inch or so above your chest, you avoid any further strain to the shoulder joints.
The floor press is a great example. In this exercise, you lie on the floor as opposed to a bench, and lower the bar or dumbbells until your triceps touch down. While this limits the range of motion, and the degree to which you can activate the muscle fibers in your pecs, it can reduce the strain on your shoulders. It may also be helpful from a strength perspective. If when you press you find that you have trouble locking your elbows out, the floor press can cure the problem, as the upward movement begins right at the sticking point. When your shoulders feel better, and you return to full-range pressing, you may find that you’re stronger than ever. You can use the same tactic for flys, lowering the dumbbells until your upper arms are stopped by the floor.
Another strategy for training around injury is to do exercises that maximize muscle tension with the lightest possible weight. You’re obviously less likely to get injured using lighter weights than heavier ones, and they place less load on achy joints. An example of this would be the squeeze press, in which you drive two dumbbells against one another while you perform a normal chest press. It’s as if you’re bear-hugging the weight while you press it. The range of motion is short, and you won’t be able to handle anywhere near the weight you could on normal dumbbell presses, but the tension you create in your pecs will exhaust them thoroughly.
Interestingly, it’s not always the shoulders that you need to save when you’re working your chest. Ask any heavy bench presser how his/her lower back feels, and you may hear them groan. That’s because pressing can be stressful to the back, especially if you arch your spine in an effort to shorten the range of motion. Shoving your back into hyperextension, especially under load, can irritate the low back over time.
A safer way to press is with the hips in the air, in a bridge position. This keeps the spine straight and aligned, while the glutes and core work to stabilize your body. Not only does it take pressure off the back, it gets more muscles involved with the movement, adding to its functionality.
The workouts that follow make use of the floor press, floor fly, squeeze press, and bridge press.
How To Stretch Your Chest Before Working Out
Prepare your joints, muscles, and nervous system for your chest workout with these Durability drills.
Chest Exercises and Workouts You Can Do At Home With and Without Weights
There are two workouts that follow, both designed and demonstrated by Onnit Gym manager Larry Maloney (follow him on Instagram, @luminary_larry). One requires only your bodyweight, and the other can be done with virtually any pair of dumbbells.
Bodyweight Chest Workout Circuit
This routine combines chest work with core training in a circuit, so that your abs can be as sharp as your chest by summer. You’ll alternate direct chest exercises via pushup variations with movements that force you to brace your core to keep good body alignment—no easy feat when you’re moving your limbs rapidly. Note that there’s really no rest for the chest until the end of the circuit, so even when you’re working your abs, your pecs will be contracting to stabilize your arms and shoulders. (Come to think of it, there’s no rest for your core either, because, well, pushups. As we explained above.) We promise your pecs will be as pumped and sore as if you’d done a heavy pressing workout, but with a routine that takes less than 15 minutes to complete.
Directions: Perform the exercises as a circuit, completing one set of each in sequence without resting in between (or, if absolutely necessary, rest as little as possible). Afterward, rest 2 minutes, and repeat the circuit for 4 total rounds. Except where otherwise noted, do 10 reps for each exercise the first round. Reduce the reps by 2 each round, so you’ll do 8 reps the second round, 6 reps the third, and 4 reps the fourth.
1 Scorpion Pushup
Step 1. Get into pushup position with your hands shoulder-width apart. Tuck your pelvis slightly so that it’s perpendicular to the floor, and brace your core. Your body should form a straight line from your head to your feet.
Step 2. Lower your body until your chest is about an inch above the floor. Press your body back up, and then raise one leg off the floor. Continue to press into the floor and drive your hips back until your arms are straight overhead. Return your leg to the floor, perform another pushup, and repeat on the opposite leg. Each pushup counts as one rep.
2 Cross-Body Mountain Climber
Reps: Do 20 the first round, then 18, 16, 14
Step 1. Get into pushup position, and raise one knee toward your chest. As it’s coming up, twist your hips to bring it toward your opposite elbow. Try to touch the elbow.
Step 2. Twist back, and repeat on the opposite side. Each knee touch counts as one rep.
3 Alligator Pushup
Step 1. Get into pushup position, and lower your body toward the floor as you raise one leg out to the side with your knee bent.
Step 2. Press back up and return the leg to the floor. Repeat the pushup, and raise the opposite leg. Each leg raise is one rep.
4 Lateral Climber
Reps: Do 20 the first round, then 18, 16, 14
Step 1. Get into pushup position with one knee bent 90 degrees and under your chest. Extend the other leg straight out to your side.
Step 2. Switch your legs, bringing your right knee under your chest. Continue switching back and forth quickly, staying light on your feet. Avoid twisting your shoulders and hips by keeping your core tight. Each switch is one rep.
5 Beast Pushup
Step 1. Get into pushup position and push your hips back over your heels, extending your arms overhead (the beast position). Do not let your knees touch the floor.
Step 2. Extend your legs and pull with your arms to come back to the pushup position, and then perform a standard pushup. Press back up as you go straight back into the beast position. Each pushup is one rep.
Dumbbell Chest Workout with Light Weights
Here, we highlight one of our favorite exercises—the hip bridge. Doesn’t sound like a chest move, does it? Well, it can be if you want it to. Pressing and flying with your hips in the air trains the glutes and core along with your chest, and makes for a more functional pec workout overall. Regular presses and flys can better isolate the pecs, and that’s alright, but most of the times you use your chest muscles in life, you have to work them along with your hips and core (pushing something or someone, throwing, punching, etc.). The exercises that follow train movements that are more analogous to what you’ll do on the field, court, or mat, and they’ll still give you a chest that stretches your T-shirts.
As a bonus, working your chest in the bridge position helps relieve stress from the lower back, which is often bothered by conventional pressing exercises done with a big arch in the spine. Bridge presses and flys keep the spine neutral.
Directions: Perform the exercise pairs (marked A and B) as supersets, so you’ll do one set of A and then immediately go on to do one set of B. Rest 2–3 minutes, and then repeat the pair until all sets are completed for each exercise. If you only have access to very light weights, perform 12–15 reps for each exercise. If you have heavier weights, do 10–12 reps.
On the last set of each B exercise (right before you finish the pair), do as many reps as possible.
1A Bridge Floor Press
Step 1. Lie on your back on the floor with a dumbbell in each hand. Place your feet near your butt, and tuck your pelvis under so it’s perpendicular to the floor. Take a deep breath into your belly, brace your core, and squeeze your glutes as you drive through your heels to raise your hips off the floor. Your body should form a straight line from your knees to your shoulders. Hold the weights over your chest.
Step 2. Maintaining the position by keeping your glutes and core tight, lower your arms while tucking your elbows 45 degrees to your sides. Continue until your triceps touch the floor. From there, press the weights straight up.
1B Renegade Row with Pushup
Step 1. Hold a dumbbell in each hand and get into pushup position on the floor with your hands shoulder-widith apart. Your body should form a straight line from your head to your feet, and your pelvis should be tucked slightly so that it’s perpendicular to the floor. Brace your core.
Step 2. Perform a pushup, and at the top, shift your weight to your left side so that your right arm feels light. Row the weight to your hip, avoiding any twisting in your hips or shoulders. Return your hand to the floor, perform another pushup, and repeat the row on the opposite side. Each pushup counts as one rep.
2A Bridge Fly
Step 1. Get into the bridge position you used in the bridge floor press, and hold the dumbbells over your chest.
Step 2. Lower your arms in an arcing motion (maintain a slight bend in your elbows) until your triceps touch the floor. Now bring your arms back over your chest in a hugging motion as you squeeze your pecs.
2B Bridge Pullover
Step 1. Get into the bridge position and hold one dumbbell over your chest. Grip the sides of it tightly, contracting your pecs as if you were trying to crush the dumbbell between your hands.
Step 2. Keeping your arms straight, reach back over your head until the dumbbell touches the floor (but don’t rest it there). Pull the weight back over your chest.
3A Bridge Squeeze Press
Step 1. Get into the bridge position and hold two dumbbells together over your chest. Press them against each other so that you feel your pecs contract.
Step 2. Maintain that tension as you lower the weights to your chest, and then press them back up.
3B Triceps Skull Crusher
Step 1. Lie flat on the floor and hold the dumbbells over your chest.
Step 2. Bend your elbows, lowering the weights to the sides of your face, and then press them back up.
4A Bridge Underhand Fly
Step 1. Get into the bridge position with the dumbbells over your chest. Turn your palms to face your chin.
Step 2. Lower your arms outward as you did in the previous fly exercise, but keep them closer to your sides. When your triceps touch the floor, bring the weights back up in a hugging motion.
4B Bridge Floor Press with Underhand Grip
Step 1. From the bridge position with your palms facing your chin, lower the weights until your triceps touch the floor, arms 45 degrees from your torso.
Step 2. Press the weights back up.


