The term “mobility” refers to your ability to move through the ranges of motion that are available to you on a given exercise. It’s not the same as flexibility, which implies that your joints have a certain range of motion but offers no guarantee that you can move your body in and out of it properly.
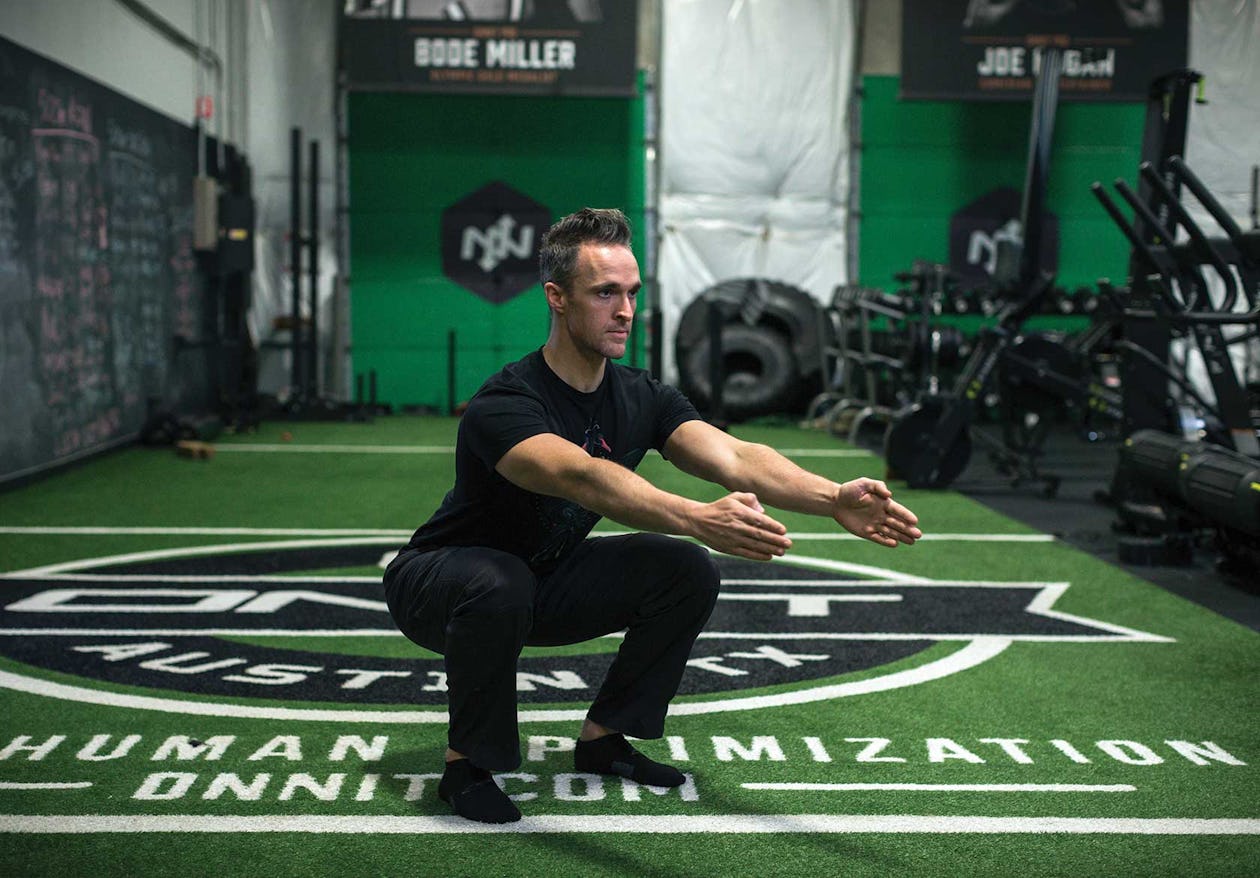
Think about it like this. When you do a body-weight squat, can you sink all the way down until your butt touches your heels while keeping your chest proud and your feet flat? That’s good mobility. Or do you have to collapse your chest forward and round your lower back to get down there? If the latter describes you, then you have the flexibility in your hips and hamstrings to squat deeply but not the body control to do it correctly and safely.
That control is what mobility is all about. Flexibility by itself doesn’t mean much if you don’t have the strength to access it in the gym or on the field of competition. If strength training is what we have to do to make ourselves bigger and stronger, think of mobility training as the approach that helps us make the most of that muscle and strength. In fact, because mobility requires us to use muscle strength to control our bodies while moving through ranges, it is itself a form of strength training.
Below, I’ve taken the three movement patterns I see most commonly compromised by poor mobility— squatting, pressing, and pulling—and show you how to progress to performing them flawlessly. As a result, you’ll not only increase your range of motion but gain strength in that range, which will transfer to stronger and safer lifting and on-field performance.
But First, The Secret To Better Mobility
Before I get into the individual mobility drills, I want to discuss one thing you need to keep front of mind when doing them, as well as with any other mobility training you do.
Breathing.
Here’s the deal: you can only own the ranges of motion that you can breathe through. In other words, if you hold your breath during an exercise, you’ll never be able to reach your full range on it. That’s because when you hold your breath your body goes into panic mode. It thinks the way you’re moving is unsafe and it will resist you. Therefore, the first progression in all my mobility sequences for squatting, pressing, and pulling is a move that primes your breathing patterns. It’s important that you don’t just go through the motions on these. Breathe through them and be very conscious of your range on each, as they serve an important function.
When you breathe in, take the air in through your nose and into your belly, expanding your abdomen 360 degrees. If your chest and shoulders rise when you breathe, you’re doing it wrong. Picture the breath as water going in and filling up your stomach first, and then rising into your chest. When you exhale, try to let it out through your nose as well.
Hip Mobility Moves for Better Squatting
1. The Squat Rock
This exercise more or less takes your body through a full squat, only instead of standing you do it on all fours. The floor supports your body, making the movement very stable and therefore easier to train through a full range of motion. It’s a good way to familiarize your body with what a full-range squat feels like, and teaches you to maintain head, spine, and pelvis alignment.
– Get on all fours. Your palms should be directly under your shoulders and your knees below your hips. Tuck your toes so they point into the floor.
– Now push your butt back toward your heels, keeping your back and hips in a straight line. Ideally, you’ll be able to bring your butt and heels together, but don’t force it. Exhale as you push back.
– Rock back forward to the starting position, inhaling deeply into your abdomen as you go.
Beware of the “butt wink” when you do these—the tendency for your tailbone to tuck under as you rock back to your heels. Go back only as far as you can control. If you sense your pelvis is about to tuck, stop there and return to the starting position. Perform 60 seconds of the squat rock daily if you like, but at least four times per week.
2. Frog Rock
Same idea here as in the squat rock, but we’re upping the ante by adding a deep groin stretch.
– From the all-fours position, turn your feet out to the sides so the inside edges of your feet are flush with the floor. If you can’t do that, just practice sitting in this position until you can.
– Exhale as you push your hips back to your heels while keeping your butt elevated. Once again, do not allow any butt wink. Stay within the range of motion you can control. When you get to the point where you’re about to tuck, hold it five seconds while tensing your muscles hard as if you were spreading the floor apart with your knees. Then release and rock back to the start position. You can do 60 seconds every day, but four times per week minimum.
3. Knee Collapses
When coaches troubleshoot someone’s squat, we often hear the cue “knees out” used to help the squatter get his knees and feet to line up outside of hip width and improve his squat depth. This is fine, but it’s only one part of the equation. The internal rotator muscles—the ones that pull the knees inward—need some work too. By solving this muscle imbalance, you create better stability in the hips and, therefore, a more mobile squat.
– Get into the deepest squat you can manage while keeping your chest pointing forward and your head, spine, and pelvis aligned (remember, no tucking).
– Lean slightly to your left side, shifting your weight to that foot. Now turn your right leg inward and lower the inside edge of your knee to the floor until it touches. Think about initiating the movement from the top of your thigh where it meets the hip. The inside of that foot should end up flush with the floor as well.
– Now return to your squat position and repeat on the opposite side. Never alter your squat mechanics to extend your range—so if you can’t touch the floor with one or both knees without falling forward or twisting, just go as far as you can. Breathe in a controlled fashion through your nose—don’t try to sync your breath with the movement, but don’t hold your breath either.
Do 10 knee collapses on each side every day, or at least four times per week.
4. The 5/5 Squat
This is where it all comes together. Perform a squat with a slow tempo—five seconds down, and five seconds back up. You must keep good form throughout. When you hit the range your body doesn’t want to be in, you’ll feel the need to speed up or bounce out of it, but doing the squat slowly won’t let you. If it’s too hard to perform on your own, you can hold on to a rack or other sturdy object for stability. If it’s too easy, try a goblet squat or, if you feel you’re ready for it, squat with a bar on your back.
To review, here’s how a good squat is done:
– Stand with feet at shoulder width and toes turned slightly out. Without letting your feet actually move, try to screw both legs into the floor as if you were standing on grass and wanted to twist it up—you’ll feel your glutes tighten and the arches in your feet rise.
– Take a deep breath into your belly and lower your body down. Push your knees out as you descend. Go as low as you can while keeping your head, spine, and pelvis aligned, and then extend your hips and knees to return to standing.
Squatting very slowly is the ultimate test for having the strength to control the range of motion. Any tightness or weakness that can cause you to lose position will be exposed. You might be able to perform a decent-looking rep or two dive-bomb style, but you can’t fake good form when you go slowly. Start by doing 6 reps. When you can do 10 reps, you can progress to a loaded squat of your choice. Do these only twice per week.
Shoulder and Thoracic Mobility Moves for Better Pressing
1. Foam Roll Wall Push
This exercise really targets the serratus anterior—the finger-like muscles you see at the sides of your chest when you raise your arms overhead. If your serratus doesn’t work properly, your shoulders will internally rotate (round shoulder posture) and your shoulder blades will wing out. These problems set you up for shoulder injury on any pushing exercise you do.
– Stand a foot or so behind a wall and hold a foam roller against it with the edges of your forearms, right below your wrists. The roller should be at chin height. Tuck your tailbone under so your pelvis is level with the floor. Keep your ribs down and core braced.
– Keep pressure on the roller and slowly roll it up the wall as far as you can, spreading your shoulder blades apart as you move but don’t let your elbows flare out. Then roll back down. Exhale as you roll up and inhale as you come down. The wall push can leave you very sore, so do it only every other day or every few days for 15 reps. However, on any day you train upper body, you should do it as part of your warm up.
2. Kettlebell Arm Bar
You aren’t really moving with this exercise, but that doesn’t mean you’re not training mobility. Stabilizing the weight in an awkward position with the arm extended forces the muscles that act on your shoulder blades to clamp down hard. This will allow you to perform pushing movements without the shoulder joints taking the brunt of the load.
– Lie on your back on the floor with a moderate-weight kettlebell in your left hand (less than you’d use for a Turkish getup, for instance), your left knee bent, and your right arm extended overhead. Press the kettlebell to lockout over your chest.
– Now use your planted foot to turn your body 90 degrees to the right and then drive your left knee into the floor while keeping the kettlebell pointing straight up. Try to internally and externally rotate your arm at the shoulder, gently relaxing your upper body until your chest comes more into contact with the floor (and your raised arm drifts slightly more behind you).
– Hold the weight for at least 30 seconds. Your arm may twitch and move slightly in different directions—that’s OK, just try to stabilize it. If you feel you’re losing stability entirely, reset your position and start again. You can make the exercise harder by looking away from the kettlebell. Without visual feedback on where your arm is in space, your nervous system will have a harder time controlling it. Do 3 sets on each arm, breathing at a comfortable pace. If you find that your breathing becomes labored, stop and reset. Practice the arm bar four times per week.
Shoulder and Thoracic Mobility Moves for Better Pulling
1. Maxwell Stick Mobility Complex
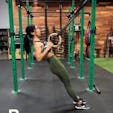
I got this exercise from strength coach Steve Maxwell, and it’s great for people who are trying to do their first pull up all the way up to advanced athletes. Performing the same basic pullup motion on the floor allows you to do so in a safe, supported position, which lets you focus your attention entirely on your back.
– Grab a dowel rod with hands at shoulder width and lie on your belly on the floor. Hold the rod under your chest with your elbows pointing back.
– Extend your back to raise your chest off the floor as in a cobra pose. Pull the rod against your chest, squeezing your shoulder blades together and downward. Hold this tension for 5 seconds.
– Raise the rod from your chest to just under your chin and hold again for 5 seconds, keeping your shoulders back.
– Extend your arms in front of you and hold at lockout 5 more seconds.
Now reverse all three steps, holding in each position again. All of that is one set. Repeat for three total rounds. Your breathing should mimic a piston, inhaling and exhaling at a regular pace, which will intensify as the set goes on. Breathe only through your nose for maximum effect. Do this before any pullup workout, or three times per week total.
2. Flexed Arm Hang and Slow Negative
The following moves really grease the pullup groove. If you can’t do pullups with your body as one straight column—and without swinging at the bottom to initiate a rep—you must do these.
– Grasp a pullup bar with hands at shoulder width and palms facing you. Pull yourself up until your chin is over the bar, or help yourself there by getting up on a box or bench. Hold the position with your back contracted and your ribs down for as long as you can.
– From the top of a chinup, simply control your descent back down into a full hang. Aim to take 3–5 seconds to lower yourself down. As you get stronger, increase the time you take to perform the negative (lowering phase), and try to do the same on the positive portion of the rep —pull yourself up slowly.
Perform either of these variations twice per week, aiming for 60 total seconds of work in each—spread over as many sets as needed to complete it. When the flexed arm hang becomes easy, put all your effort into the slow negative.
)


