Summary
– The single-arm kettlebell front squat helps teach good squatting technique while training the legs and core, primarily.
– You must master the goblet squat and should be familiar with the kettlebell clean before trying the single-arm kettlebell front squat.
– If squatting with the kettlebell is awkward for you, using a barbell in a landmine unit provides an alternative.
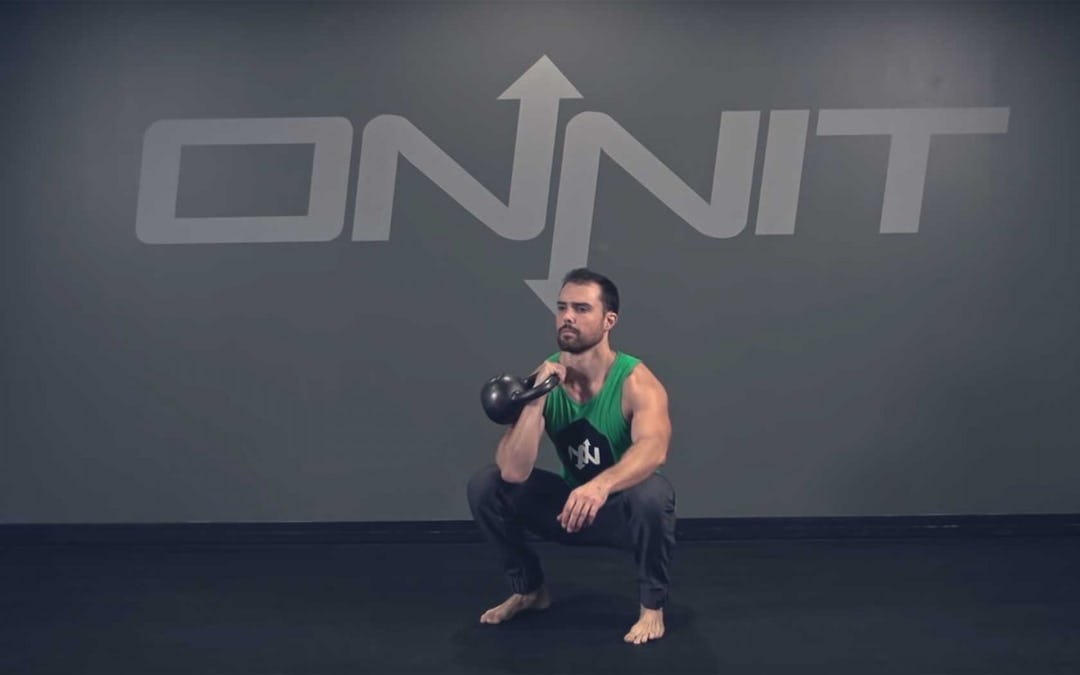
Single-Arm Kettlebell Front Squats: How To Do Them & Get Ripped
Squatting with a kettlebell in one hand is a basic but full-body exercise that, once mastered, teaches you to flow from the kettlebell clean into a squat, and, from there, sets you up to press overhead. It works a tremendous amount of muscle and can burn a lot of calories, making it useful for both muscle-gain and fat-loss goals. The single-arm kettlebell front squat is also a great way to engrain good squatting technique. It trains the legs, as any squat does, but also forces the upper back and core to engage in order to maintain alignment. Below, we’ll teach you to perform the movement with perfect form, show you why it’s a must for your workouts, and give some alternatives that work the same muscles and movement pattern.
How To Do The Single-Arm Kettlebell Front Squat
A true kettlebell front squat begins from the floor with a clean. If you’re not familiar with the clean, let Onnit Coach Eric Leija, aka “Primal Swoledier,” bring you up to speed.
Step 1: Stand with feet between hip- and shoulder-width apart, straddling a kettlebell on the floor. Keeping your head, spine, and pelvis in a straight line, bend your hips back to reach down and grasp the kettlebell. (Don’t crush it; a somewhat soft grip will allow you to spin the weight around your wrist more easily when you clean it.) Allow your knees to bend as needed as you reach down for the bell. Draw your shoulder blades back and downward (think: “proud chest”), so that both are level with the floor, and focus your eyes on a spot on the floor a few feet in front you.
Step 2. Clean the kettlebell to the rack position (up to the shoulder). If you’re fairly new to the clean, it may help you to turn the handle of the bell to face the heel of your opposite foot (opposite of the hand you’re using to grasp the bell), which helps facilitate rotation. Extend your hips forcefully to stand up, pulling your elbow backward to keep the weight close to the front of your body, and spinning the kettlebell around your wrist until it stops at your shoulder when you’re standing tall.
If cleaning from the floor feels unsafe for your lower back, you may clean from a hang position, which begins standing. Simply bend your hips back and swing the weight back between your legs, and then clean it up to shoulder level.
When you’ve gotten some variation of the kettlebell clean down, you can use it to get the kettlebell in position for the front squat. You can also combine the two movements into one fluid clean-and-front-squat flow. From the standing position with the bell racked at the shoulder (after you’ve cleaned it), the single-arm kettlebell front squat goes as follows.
Step 1: Hold the kettlebell with your forearm as vertical as possible and your wrist straight. Turn your toes to point out slightly—more if you have trouble squatting deeply, and less if you’re fairly mobile in your hips. Take a deep breath into your belly, and actively twist your feet into the floor, but don’t let them move. Think of your legs as screwdrivers, or that you’re standing on grass and trying to twist it up beneath you. You should feel the arches in your feet rise and your glutes tighten, creating tension in the lower body.
Step 2: Squat as low as you can while keeping your head, spine, and pelvis aligned, and pushing your knees apart. If you feel your tailbone beginning to tuck under, stop there, and come back up. Keep your torso as vertical as possible—you shouldn’t have to lean forward or work extra hard to hold the bell upright. Avoid bending or twisting to either side.
Step 3. Come back up, extending your hips and knees. Complete your reps on that side, and then switch sides and repeat.
Benefits of the Kettlebell Front Squat
Holding a load in front of your body acts as a counterbalance, so that when you squat, you’re able to sit back with your hips as you descend with little fear of losing your balance. This better activates your glutes and hamstrings while allowing you to keep an upright, vertical torso, and is much safer for the lower back than barbell back squatting (which often results in a forward lean of the torso that puts the lumbar spine at risk). In addition to engraining good squat mechanics, front squatting activates the core to a high degree. The weight wants to pull you forward, so you have to battle to stay tall with good posture. The muscular tension this creates throughout the body builds tremendous strength, and has carryover to other squatting movements (including the back squat) that have you using heavier loads. So, while it provides a great workout for a trainee of any level on its own, the kettlebell front squat also serves as a stepping stone to mastering more complex lifts.
When you perform the front squat with only one kettlebell, the demand for stabilization is even greater. Holding one weight will tempt you to bend or twist in its direction, so you have to work to keep your tall position even more than you would holding two kettlebells. As so many activities in sports and in life require you to stabilize an uneven load (throwing a ball, carrying objects, holding an opponent in a grappling drill), the single-arm kettlebell front squat is highly applicable. Of course, any kettlebell front squat variation also works the legs. Because it allows for such a deep squat, you can be sure you’ll work your quads hard through a big range of motion, while also recruiting the glutes and hamstrings.
Kettlebell front squats can be done heavy for low reps to build maximum strength and muscle, and lighter for higher reps as part of a conditioning circuit or kettlebell complex (in which multiple exercises are strung together). The kettlebell front squat is an essential move one must know in order to link other exercises together in a complex or “flow.” For example, you can clean a kettlebell, go right into a squat, and then come up and press it overhead. Or row the bell from the floor, and then clean it, squat it, and step back into a reverse lunge. So, owning good front squat mechanics with the kettlebell opens up a range of movement that leads to endless training possibilities.
Muscles Used in the Kettlebell Front Squat
One of the great selling points of any kettlebell front squat variation is that it’s a full-body movement. But to be specific, you can expect the single-arm version to work the following muscles (mainly).
- quadriceps
- hamstrings
- glutes
- internal and external obliques
- rectus abdominis (the six-pack muscle)
- spinal erectors
- transverse abdominis (deep core muscle)
- multifidi (core)
- front and lateral deltoids
- latissimus dorsi
- trapezius
- rhomboids
- forearm flexors
How To Stretch Before Doing the Kettlebell Front Squat
Use these drills to warm up and help mobilize your hips, upper back, and shoulders before you train any kettlebell front squat variation. Perform 2–3 sets of 5–10 reps for each.
Full Mountain Climber
Cat-Cow
Kneeling Arm Thread
Alternatives to the Kettlebell Front Squat
The single-arm kettlebell front squat can be done by inexperienced lifters and advanced athletes alike, but if you’re brand new to kettlebell training, you should master the basic goblet squat first. This will get you used to holding a load in front of your body, and it will clean up your squat technique. Also, stabilizing one kettlebell (or dumbbell) with both hands is less complex than controlling a bell with only one arm.
Goblet Squat
Step 1. Hold a kettlebell under your chin, gripping it by the horns of its handle. Stand with feet between hip- and shoulder-width, and turn your toes out 15 degrees or more. Try to get your forearms vertical, and your wrists straight. Take a deep breath into your belly, and twist your feet into the floor to create tension.
Step 2. Squat down as low as you can without your tailbone tucking under. Spread your knees as you do. Your knees should end up in line with your big toes.
Step 3. Extend your hips and knees and stand tall again.
If you need a little more stability when you do your clean, the one-arm landmine squat clean can be a good alternative. The landmine—a long metal cylinder in which you can load one end of a barbell—provides the freedom of movement that makes free weights great, but with a little more stability and an arc of motion that’s easier on the joints. It can also make the squat more user-friendly if you have tight ankles or back problems.
One-arm Landmine Squat Clean
Step 1. Load one end of a barbell with a plate and anchor the other end in a landmine unit, or, wedge it into a corner.
Step 2. Start in the same start position as the single-arm kettlebell clean/single-arm kettlebell front squat, but grasp the end of the bar with one hand and a pronated grip (thumb pointing back at you, and palm facing the same side leg).
Step 3. Begin pushing through your heels to extend your hips and knees and pull the bar off the floor. Your shoulders and hips should be in sync with each other as they rise. When the bar passes your knees, finish extending your hips, knees, and ankles explosively, and pull the bar straight up in front of your body. Keep the bar as close to your body as possible as you pull it upward. The objective here is to pull the bar as high as possible as your body becomes upright. The pull should make your shoulders shrug and your heels leave the floor.
Step 4. Pull the bar up to your same side shoulder (right shoulder if you’re using your right arm); at the top, quickly flip your hand over to catch the bar in front of your shoulder with your palm now facing the midline of your body.
Step 5. Drop down into a full squat, keeping the end of the bar in front of your shoulder. Then stand back up with the weight. Lower the bar back down and repeat. Complete your reps on that side and then switch sides and repeat.
Like what you're reading? You'll love a FREE trial of some of our top products. Get more out of your workouts and daily life.
Learn More Here